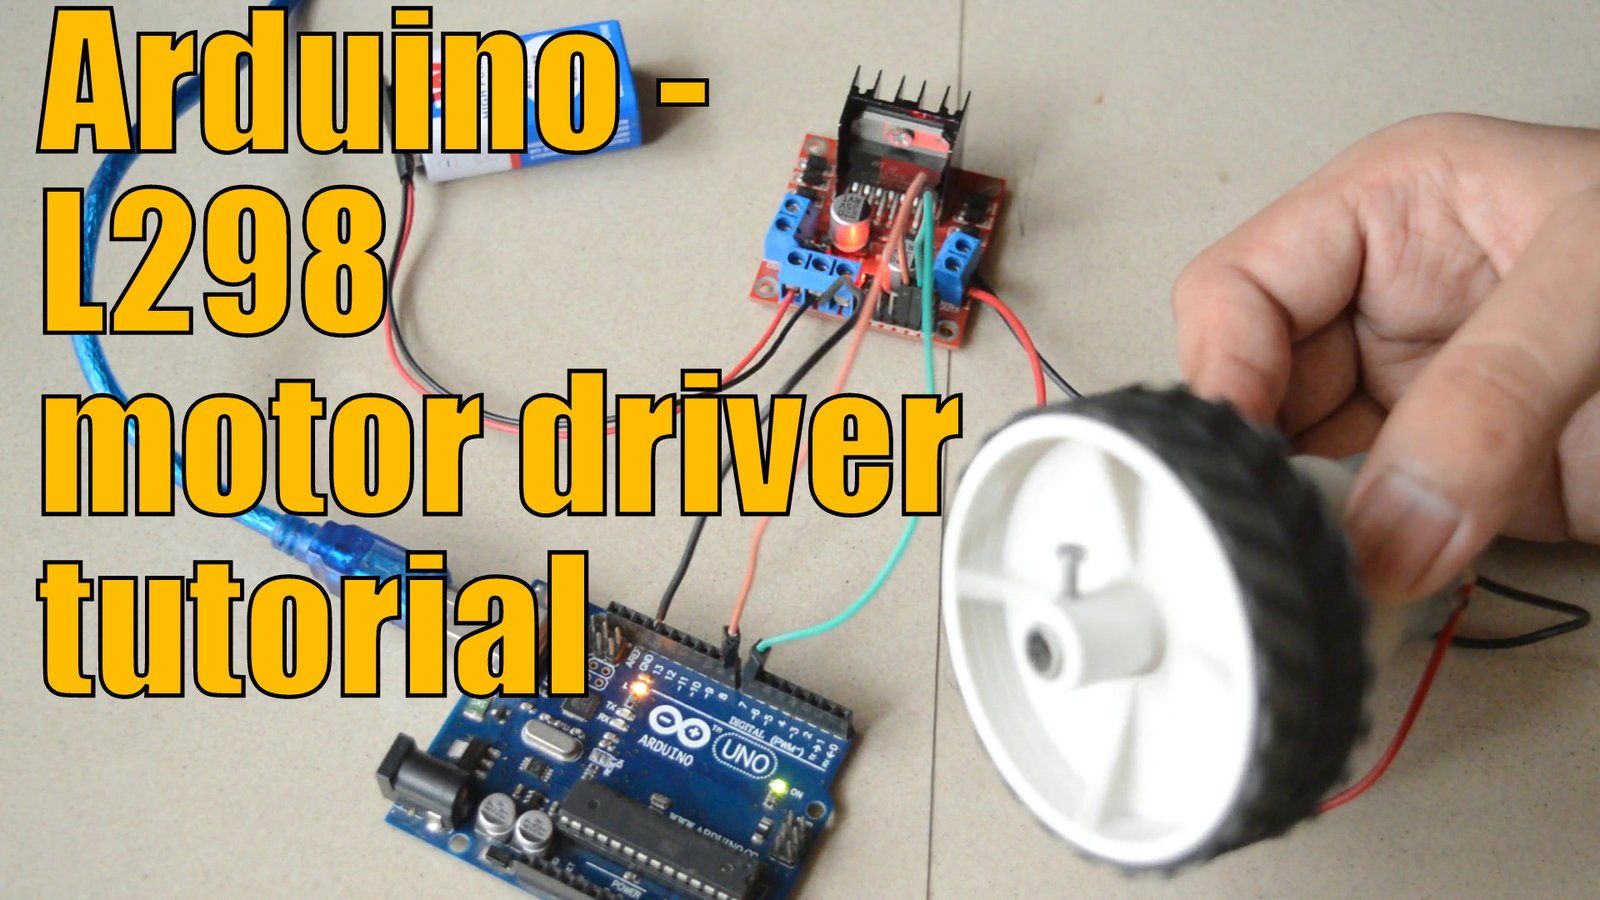
Hellloooo people, today we’ll be seeing what is a motor driver module, how to use it and where to use it – its connections and coding. So without wasting time, let’s directly jump to our motor driver L298N Arduino tutorial.
What is motor driver ?
The thing is whatever you do, the Arduino supplies maximum of 5V 1A as output; which is enough to power LEDs or smaller applications but not a motor, a LED strip or our bot! So for applications demanding more current or voltage we need a higher power source as well as a means of control. This is where motor driver comes into play, it lets more power flow through itself by taking commands from the Arduino, simple?
So first things first,
Requirements –
- Motor driver module L298N
- 2 9V batteries
- Arduino Uno/Mega
- A 50/100/200 rpm motor
- Jumpers/Wires
- A slice of Pizza to celebrate 😉
Connections of Motor driver L298N – Arduino tutorial

12V – Battery +ve
GND – Arduino GND, Battery -ve
2 Signal pins – Pin 7 & 8 of Arduino
2 wires from application terminals – motor wires
Code –
void setup() {

  pinMode(7, OUTPUT);
  pinMode(8, OUTPUT);
  }


void loop() {
  digitalWrite(7, HIGH);   //clockwise rotation
  digitalWrite(8, LOW);
  delay(5000);
  digitalWrite(8, HIGH);   //anticlockwise rotation
  digitalWrite(7, LOW);
  delay(5000);

}
That’s it! Power up your Arduino with your cable or battery and you are good to go. Here is a video tutorial which will make things super easy for you!
Also here is a video tutorial on Obstacle avoiding robot using an ultrasonic sensor and this same motor driver module..! Go try it, what are you waiting for? It’s a mere 10 min job!
Also, needless to say, if you face any difficulties, comment down below.. I’ll get to them as fast as I can 😀


2 comments on “How to use motor driver L298N – Arduino tutorial”
whenever I connect the ENA and ENB pins to the Arduino-L298 motor driver. The motor slows down and stops
Hmph.. quite interesting! I need more information what have you done & are you exactly trying to do