Today I will give you a tutorial on the Ultrasonic sensor HC-SR04 ! Also called as PING sensor or RANGE sensor; it is one of the most basic & easiest sensors of the beginners kit !
About Ultrasonic sensor HC-SR04 :-
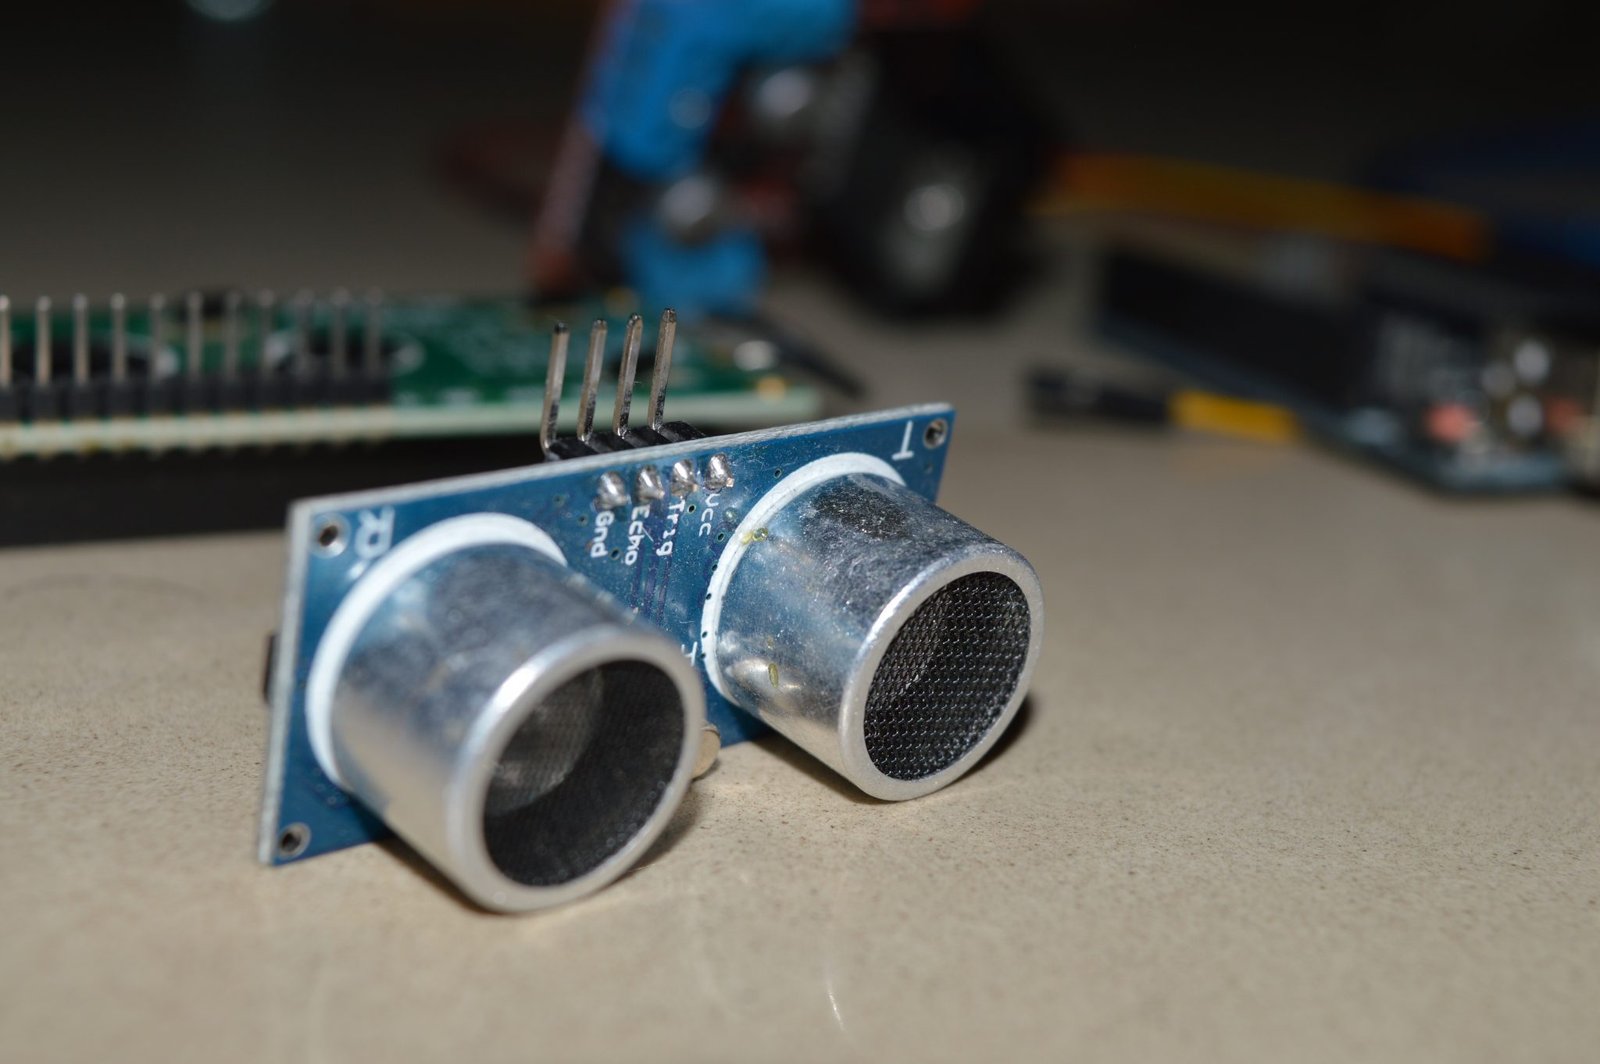
The transmitter transmits ultrasonic pulses & they are reflected back & gets sensed by the receiver if any obstacle lies between the path.
The range of this ultrasonic is about 4 metres. There is a chance of error of +-3cm in measuring the distance.
It measures the time interval between sending & receiving the pulse & then by a formula – gives us the distance.
It has got 4 pins :-
VCC – connect it to 5V supply.
GND – connect it to ground.
echopin, trigpin – connect it to any digital pin (as of here, we’ve connected them to 9, 10).
& the positive terminal of the LED is connected to pin number 7 on Arduino !
Code for the Ultrasonic sensor :-
int trigPin = 9;
int echoPin = 10;
int led = 7;


void setup() {
  Serial.begin(9600);
   pinMode(led, OUTPUT);
   pinMode(trigPin, OUTPUT);
  pinMode(echoPin, INPUT);
  // put your setup code here, to run once:

}

void loop() {
  long duration, distance;
  digitalWrite(trigPin,HIGH);
  delayMicroseconds(1000);
  digitalWrite(trigPin, LOW);
  duration=pulseIn(echoPin, HIGH);
  distance =(duration/2)/29.1;
  Serial.print(distance);
  Serial.println("CM");
  delay(10);

 if((distance<=10))
  {
    digitalWrite(led, HIGH);
}
   else if(distance>10)
 {
     digitalWrite(led, LOW);
   }
}
You might like –
Make an Obstacle avoiding robot with this Ultrasonic sensor in 10 mins
Here is a video tutorial on the ultrasonic sensor….. 😉
You can buy it from Amazon… here it is
Please do not hesitate to ask questions. Please comment your problems(any kind of) faced by you in the comment section below so that I could answer them as early as possible 🙂 !
You might also like –
Tutorial on Infrared sensor TSOP 17xx | How to control LED with help of TV remote ?
16 comments on “Connection, Interfacing & Programming of Ultrasonic Sensor HC-SR04”
IT IS NOT WORKING
hello, what seems to be problem ?
Can we increase the range of ultra sonic sensor HC SR04
please reply ..
arpitsingh976026@gmail.com
Hi Arpit, Unfortunately…NO! 🙁
exit status 1
‘trigPin’ was not declared in this scope
hello, you must not have declared trigger pin in your code ! assign a digital pin number to your trigger pin in your “void setup” just like I’ve done in my code !
brilliantly explained and one i will do
My is working.thanks
Hi sir
Can we use this program even for arduino mega 2560???
Hello Devipriya, Yes, I don’t see why not 🙂
if ((distance<=10))
please tell meaning of above line. The arduino IDE is showing error while compiling.
Thank you
It means- if the distance is less than OR equal to 10cm
thanks a lot !
hello great article work great on my robot car now I am trying to get it to work with my Sabertooth 2×32 motor controller for robot lawnmower can you look at my code I am not a coder thanks jim
i have a problem and i have also tryied to copy and paste to control there is not software digit error. the problem is that the led is alway on no matter what, even is nothing goes in front of the sensor
Hello, please check the connections & check pin numbers if they are correct